Image Galleries
For Lightbox Gallery, Or Linked Image Thumbnails
Quick loading image galleries that display perfectly on all common devices, and very easy to set up and edit. Sounds good? Then read on.
How To Create A Gallery
First, we put a section on the page, and give it a class. The class name depends on what size we want our thumbnail images to be. Small medium or large. The large will display images 3 wide on desktop view (300px wide), medium will fit 5 (180px wide) and the small will fit 6 (140px wide). The class names are "gallery-l", "gallery-m" and "gallery-s" respectively. This is for the single column layout, the two column will display with 2, 3, and 4 due to a narrower column width.
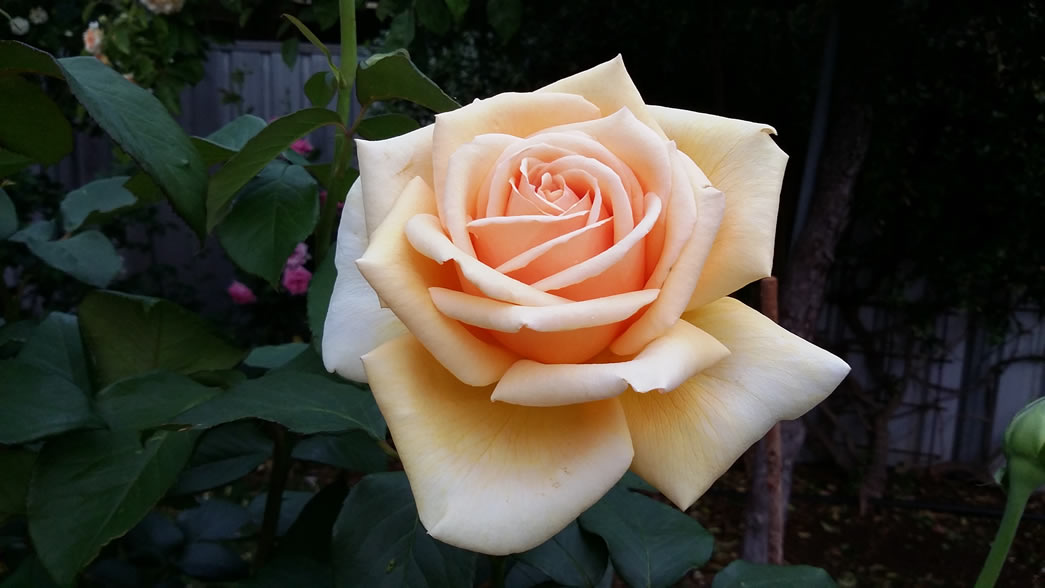
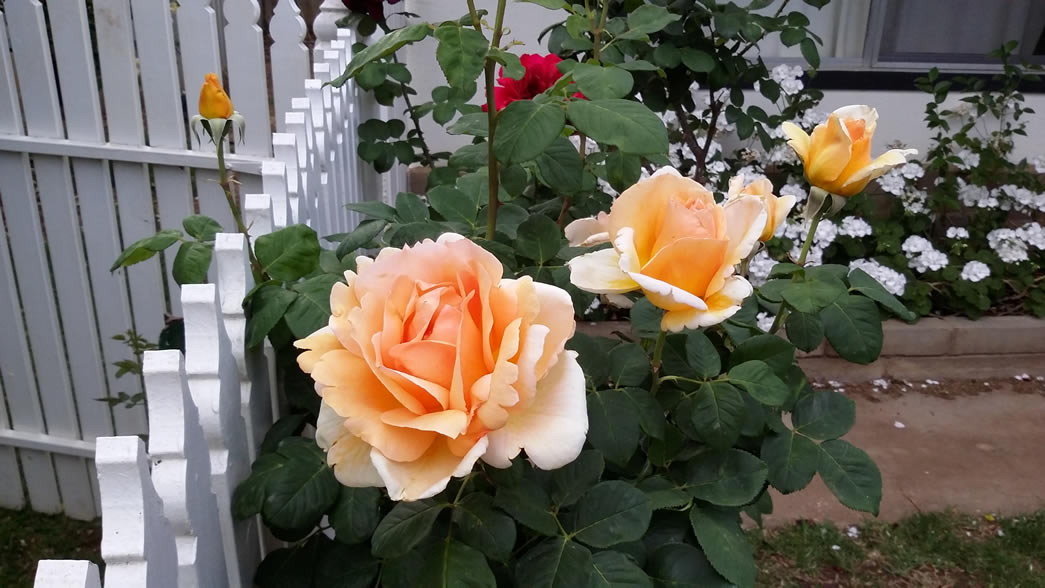
Here is the HTML used to put a medium gallery on the page, using the pictures of roses we have on the home page. For this example, we are using only three images, and the medium gallery can fit five wide. No problem, they will center automatically...
Note: Only one image shown in the HTML example, you would of course have as many images in the gallery as you wanted.
<section class="gallery-m">

<figure>

<a href=image-files/lb1.jpg" data-lightbox="myGalleryName" data-title="An example picture title">

<img class="lazy" src="" data-src="image-files/lb1.jpg" data-pin-nopin="true" >

<figcaption> This is a picture </figcaption>

</figure>

<section>

But Wait, There's More!
Suppose you decide to add more images, or remove some, will that mess up your gallery layout? Not at all, the images will "self center", so there is no need to worry about the layout. In fact, it gets even easier. What if you are using a medium gallery, and change your mind and decide to go with the larger size?
Simply change the m to an l and hey presto, your gallery changes from medium to large, and the images re-arrange themselves to fit nicely. See below, the exact same gallery as above (check the source code) with "gallery-m" changed to "gallery-l".
No doubt you can guess what we need to do if we change our mind and now want a small gallery. Yes, we change m to s.
The Nuts And Bolts Of Creating A Lightbox Gallery
When you have looked at the example, no doubt you noticed this is in the HREF tag... data-lightbox="set1" data-title="An example picture title" and this is in the IMG tag... data-pin-nopin="true".
data-lightbox="set1" is a unique name for each gallery on the page. If we didn't change that, and had multiple galleries on the same page, they would work, BUT they would all be seen as part of the same gallery, and linked together. So give each gallery its own name, which can be anything you like.
data-title="An example picture title" is the caption you see below the image when it opens up in a lightbox. It can be the same as your normal figcaption one, but it doesn't have to be. In fact you can leave it out if you like to have just a lightbox image with no text below it.
And finally, the data-pin-nopin="true" in the image tag. This is to stop a PIN button appearing on the thumbnail. If you want people to be able to pin the fullsized images,then you can omit the data-pin-nopin from the gallery thumbnails tag. When somebody clicks that, they will have the option to save the fullsized gallery image.